Difference between revisions of "Camp Setup Guide"
From A Wiki in the Desert
| Line 4: | Line 4: | ||
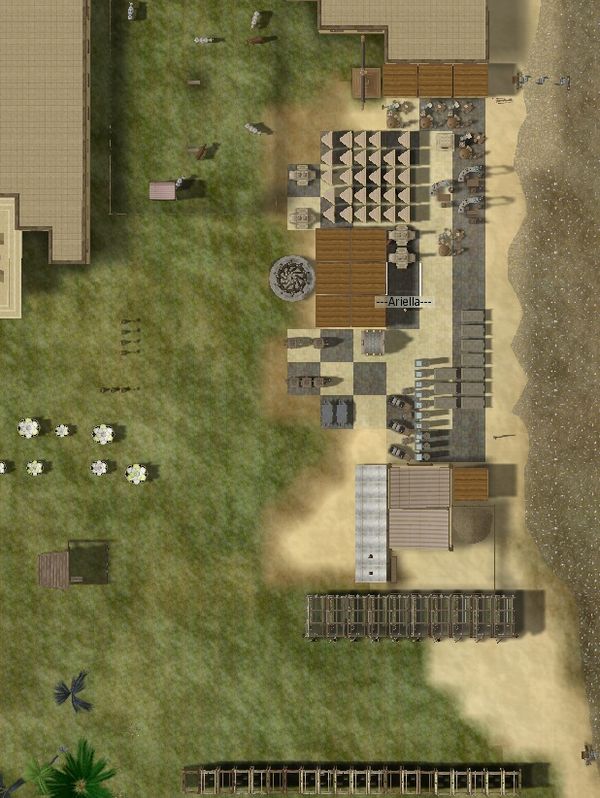
* Build on a shore. | * Build on a shore. | ||
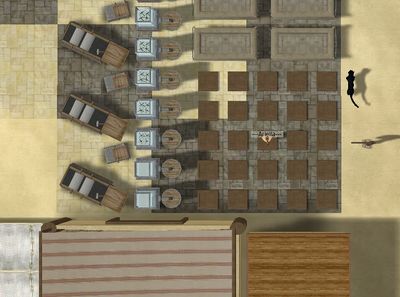
* Brick racks. (cannot be seen in above pic in lower right of compound next to camel pen) | * Brick racks. (cannot be seen in above pic in lower right of compound next to camel pen) | ||
| − | ** Stand in center of future 5 x 5 layout of brick racks on one corner of compound | + | ** Stand in center of future 5 x 5 layout of brick racks on one corner of compound '''WHERE YOU SEE BOTH SAND AND MUD ICONS'''. You can overload with sand/mud/straw and reach all racks. |
**Greenhouses are placed by camel pen for straw retrieval while standing in center of brick racks overloaded. | **Greenhouses are placed by camel pen for straw retrieval while standing in center of brick racks overloaded. | ||
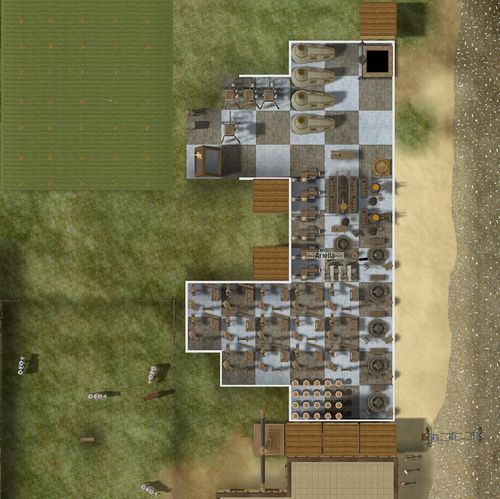
[[File:Compound Layout 2 Forges Distaffs.jpg|500px]] | [[File:Compound Layout 2 Forges Distaffs.jpg|500px]] | ||
Revision as of 15:41, 27 January 2019
- Compound materials costs are calculated from distance away from initial door of compound.
- Build on a shore.
- Brick racks. (cannot be seen in above pic in lower right of compound next to camel pen)
- Stand in center of future 5 x 5 layout of brick racks on one corner of compound WHERE YOU SEE BOTH SAND AND MUD ICONS. You can overload with sand/mud/straw and reach all racks.
- Greenhouses are placed by camel pen for straw retrieval while standing in center of brick racks overloaded.


