Difference between revisions of "Guides/Mining"
m (→Color Blind Mode: clean up) |
|||
| (29 intermediate revisions by 10 users not shown) | |||
| Line 1: | Line 1: | ||
| − | |||
| − | |||
| − | |||
To get to the Mining Technology Page click here: [[Mining]]<br> | To get to the Mining Technology Page click here: [[Mining]]<br> | ||
| Line 7: | Line 4: | ||
When done mining a public mine, please press "Stop working this mine" so the crystals disappear and won't cause lag. | When done mining a public mine, please press "Stop working this mine" so the crystals disappear and won't cause lag. | ||
| − | |||
== Public Mines == | == Public Mines == | ||
| Line 16: | Line 12: | ||
* Anyone can see what type of [[Mine|Ore Mine]] it is. These mines do not crumble so there is no repair cost. | * Anyone can see what type of [[Mine|Ore Mine]] it is. These mines do not crumble so there is no repair cost. | ||
| − | |||
* When dowsing, 'Unrecognizable ore' means the required Perception is double your current rounded up. That's the current theory. | * When dowsing, 'Unrecognizable ore' means the required Perception is double your current rounded up. That's the current theory. | ||
| + | * Work the Mine, Normal hotkey [W] to get the first set or new set of ore stones. There is a [[Color Blind]] mining mode that can be enable by contacting a GM. The hotkey [c} to work the mine instead of [w] . | ||
| + | * Minimum number of Ore Stones in a successful Workload for any ore is 3 Ore Stones chosen. | ||
| + | * Gems and coal are produced when one of the Ore Stones crumbles. When a specific Ore Stone has been selected in a correct workload 7 times it crumbles. | ||
| + | * "All same or all different" means that each set needs to be either of the same or of a different type. E.g., the crystal color could be all red or 3 different colors. | ||
| + | * "Some same and some different" means that each set must contain a pair and one different from the pair. E.g., the crystal colors could be 2 yellows and 1 red. | ||
| − | + | ===Color Blind Mode=== | |
| − | * | + | * If you would like to have [[Color Blind]] mode turned on for mining, please place a GM call requesting it. |
| + | * The puzzle artwork will be the same, but instead of requiring you to distinguish between stone colors, base colors, and crystal colors, you will have to distinguish between different shapes and/or marbling patterns. Even the most complex mining puzzles can be successfully configured that way. | ||
| − | + | In this iron mine, you have to distinguish between stone colors and crystal shapes. | |
| − | + | [[Image:IronReg.png | 500px]] | |
| − | + | At the same iron mine, in colorblind mode, you need to distinguish between stone shapes and base shapes. | |
| − | + | [[Image:IronCB.png | 500px]] | |
| + | == Byproducts == | ||
| + | *Every mine will produce [[Gems]] and [[Coal]] when a stone is successfully broken. These land in the mine's inventory. The type of gem is determined by the region the mine is in. Refer to [[Gems]] for a list of which gems are mined in which regions. | ||
| + | *As of 2020-01-28, there is also a small chance to gain 2 [[Cuttable Gems]] among [[Cuttable Almandine|Almandine]], [[Cuttable Aquamarine|Aquamarine]], [[Cuttable Garnet|Garnet]], [[Cuttable Kunzite|Kunzite]] and [[Cuttable Morganite|Morganite]] when you confirm a successful workload, be it sand or ore. Contrary to gems and coal, the cuttables will land directly in your inventory. | ||
| + | == Ore characteristics == | ||
| + | <br> | ||
{|{table} border=5 cellpadding="1" cellspacing="3" style="background-color:#CCDFFF" | {|{table} border=5 cellpadding="1" cellspacing="3" style="background-color:#CCDFFF" | ||
|'''Ore Type''' | |'''Ore Type''' | ||
| Line 36: | Line 42: | ||
|'''Varying Characteristics''' | |'''Varying Characteristics''' | ||
|'''Characteristic Rules for a Successful Workload''' | |'''Characteristic Rules for a Successful Workload''' | ||
| − | |''' | + | |''' Regular Mining''' |
| + | |'''[[Color Blind]] Mode''' | ||
|- | |- | ||
| Line 43: | Line 50: | ||
| 4 Stone Colours, 4 Stone Shapes, 4 Base Colours | | 4 Stone Colours, 4 Stone Shapes, 4 Base Colours | ||
| All Same or All Different | | All Same or All Different | ||
| + | |||
| + | |[[File:aluminum_reg.png|300px]] | ||
| + | |[[File:aluminum_cb.png|300px]] | ||
| | | | ||
|- | |- | ||
| Line 50: | Line 60: | ||
| 5 Crystal Colours, 5 Crystal Shapes, 2 Base Shapes | | 5 Crystal Colours, 5 Crystal Shapes, 2 Base Shapes | ||
| All Same or All Different | | All Same or All Different | ||
| + | |||
| + | |[[File:antimony_reg.png|300px]] | ||
| + | |[[File:antimony_cb.png|300px]] | ||
| + | | | ||
| + | |- | ||
| + | |||
| + | | [[Cobalt]] | ||
| + | | 10 | ||
| + | | 7 Stone Colours, 7 Crystal Colours, 7 Base Colours | ||
| + | | 2 same base and one different, 2 same crystal and one different, 2 same stone and one different | ||
| + | |||
| + | |[[File:cobalt_reg.png|300px]] | ||
| + | |[[File:cobalt_cb.png|300px]] | ||
| | | | ||
|- | |- | ||
| Line 57: | Line 80: | ||
| 3 Stone Colours, 4 Stone Shapes | | 3 Stone Colours, 4 Stone Shapes | ||
| All Same or All Different | | All Same or All Different | ||
| + | |||
| + | |[[File:copper_reg.png|300px]] | ||
| + | |[[File:copper_cb.png|300px]] | ||
| | | | ||
|- | |- | ||
| Line 64: | Line 90: | ||
| 3 Stone Colours, 3 Stone Patterns, 3 Crystal Colours, 3 Crystal Shapes | | 3 Stone Colours, 3 Stone Patterns, 3 Crystal Colours, 3 Crystal Shapes | ||
| All Same or All Different | | All Same or All Different | ||
| − | | | + | |
| + | |[[File:gold_reg.png|300px]] | ||
| + | |[[File:gold_cb.png|300px]] | ||
| + | |||
|- | |- | ||
| Line 71: | Line 100: | ||
| 3 Stone Colours, 3 Crystal Shapes | | 3 Stone Colours, 3 Crystal Shapes | ||
| All Same or All Different | | All Same or All Different | ||
| + | |||
| + | |[[File:iron_reg.png|300px]] | ||
| + | |[[File:iron_cb.png|300px]] | ||
| | | | ||
|- | |- | ||
| Line 77: | Line 109: | ||
| 9 | | 9 | ||
| 5 Stone Colours, 4 Stone Shapes, 3 Crystal Colors | | 5 Stone Colours, 4 Stone Shapes, 3 Crystal Colors | ||
| + | | All Same or All Different: Same shape + same gem colour + different rock colour = work. different rock colour + different gem colour + different shape = work | ||
| + | |||
| + | |[[File:lead_reg.png|300px]] | ||
| + | |[[File:lead_cb.png|300px]] | ||
| + | | | ||
| + | |- | ||
| + | | [[Magnesium]] | ||
| + | | 9 | ||
| + | | 7 Stone Colours, 3 Stone Shapes, 3 Stone Patterns | ||
| All Same or All Different | | All Same or All Different | ||
| + | |||
| + | |[[File:magnesium_reg.png|300px]] | ||
| + | |[[File:magnesium_cb.png|300px]] | ||
| | | | ||
|- | |- | ||
| − | | [[ | + | | [[Nickel]] |
| − | + | | 13 | |
| − | | [[ | + | | 4 Stone Colours, 4 Stone Patterns, 4 Crystal Shapes, 4 Crystal Colours (provisional) |
| + | | 3+ All Same or All Different | ||
| + | |||
| + | |[[File:nickel_reg.png|300px]] | ||
| + | |[[File:nickel_cb.png|300px]] | ||
| + | | | ||
|- | |- | ||
| [[Platinum]] | | [[Platinum]] | ||
| 12 | | 12 | ||
| 5 Stone Colours, 5 Stone Patterns, 5 Crystal Colours, 5 Base Shapes | | 5 Stone Colours, 5 Stone Patterns, 5 Crystal Colours, 5 Base Shapes | ||
| − | | Some Same and Some Different:<br>If mining 3 orestones, 2 must have same stone color and 3rd be different; 2 must have same base shape and 3rd be different, etc.<br> | + | | Some Same and Some Different:<br>If mining 3 orestones, 2 must have same stone color and 3rd be different; 2 must have same base shape and 3rd be different, etc.<br> |
| + | |||
| + | |[[File:platinum_reg.png|300px]] | ||
| + | |[[File:platinum_cb.png|300px]] | ||
| | | | ||
| − | |- | + | |-- |
| Sand | | Sand | ||
| Line 95: | Line 147: | ||
| 7 Stone Colors | | 7 Stone Colors | ||
| All Same or All Different | | All Same or All Different | ||
| + | |||
| + | |[[File:sand_reg.png|300px]] | ||
| + | |[[File:sand_cb.png|300px]] | ||
| | | | ||
|- | |- | ||
| Line 102: | Line 157: | ||
| 5 Stone Colours, 5 Base Shapes, 5 Base Colours | | 5 Stone Colours, 5 Base Shapes, 5 Base Colours | ||
| 3+ All Same or All Different | | 3+ All Same or All Different | ||
| + | |||
| + | |[[File:silver_reg.png|300px]] | ||
| + | |[[File:silver_cb.png|300px]] | ||
| | | | ||
| − | |||
| − | |||
|- | |- | ||
| [[Tin]] | | [[Tin]] | ||
| 9 | | 9 | ||
| − | | 4 Stone Colours, 4 Marbling Patterns | + | | 4 Stone Colours, 4 Stone Marbling Patterns |
| − | | All Same or All Different | + | | All Same or All Different |
| + | |||
| + | |[[File:tin_reg.png|300px]] | ||
| + | |[[File:tin_cb.png|300px]] | ||
| | | | ||
|- | |- | ||
| + | | [[Zinc]] | ||
| + | | 10 | ||
| + | | 3 Stone Colours, 3 Base Shapes, 3 Crystal Colours | ||
| + | | All Same or All Different | ||
| − | | [[ | + | |[[File:zinc_reg.png|300px]] |
| − | + | |[[File:zinc_cb.png|300px]] | |
| − | | [[ | + | | |
| − | |||
| − | |||
|- | |- | ||
|} | |} | ||
| + | <br> | ||
== Playing the Mining Game == | == Playing the Mining Game == | ||
| Line 127: | Line 189: | ||
* Click on the Mine and choose Work this Mine, Normal [W] to bring out a new Ore Stone set. | * Click on the Mine and choose Work this Mine, Normal [W] to bring out a new Ore Stone set. | ||
| − | [[Image:T5OreStoneSet.jpg | 500px | Tale 7 Ore Stone Set]] | + | [[Image:T5OreStoneSet.jpg | 500px|Tale 7 Ore Stone Set]] |
* Left-click the stones that you think will be either All Same or All Different as in the chart above for this Ore Stone Set and choose Add this to the Workload [A]. In this example I chose All Different for both colour and shape, so all stone shapes must be different and all stone colors must be different (yellow, purple, blue). A blue rotating ring appears around each stone you choose. Two Ore Stones have been chosen and a blue Ore Stone is about to be chosen. | * Left-click the stones that you think will be either All Same or All Different as in the chart above for this Ore Stone Set and choose Add this to the Workload [A]. In this example I chose All Different for both colour and shape, so all stone shapes must be different and all stone colors must be different (yellow, purple, blue). A blue rotating ring appears around each stone you choose. Two Ore Stones have been chosen and a blue Ore Stone is about to be chosen. | ||
| − | [[Image:Workload.jpg | 700px | T5 Workload]] | + | [[Image:Workload.jpg | 700px|T5 Workload]] |
*Left-click the last Ore Stone and choose Add this to the Workload and Finalize [S]. If you chose a correct set of Ore Stones then you will see the flyaway message as below! You win some ore! The ore amount is added into the pot and you can Take. | *Left-click the last Ore Stone and choose Add this to the Workload and Finalize [S]. If you chose a correct set of Ore Stones then you will see the flyaway message as below! You win some ore! The ore amount is added into the pot and you can Take. | ||
| − | [[Image:T5WorkloadScore.jpg | 700px | Cyan Shade 1]] | + | [[Image:T5WorkloadScore.jpg | 700px|Cyan Shade 1]] |
| + | |||
| + | === Ore Stone, Crystal and base shapes=== | ||
| + | |||
| + | {|{table} border=5 cellpadding="1" cellspacing="3" style="background-color:#CCDFFF" | ||
| + | |'''Crystal Shapes''' | ||
| + | |'''Names''' | ||
| + | |'''Stone Shapes''' | ||
| + | |'''Names''' | ||
| + | |'''Base Shapes''' | ||
| + | |'''Names''' | ||
| + | |'''Pattern''' | ||
| + | |'''Names''' | ||
| + | |'''Colors''' | ||
| + | |'''Names''' | ||
| + | |||
| + | |- | ||
| + | |||
| + | |[[File:mixedcrystal.png|200px]] | ||
| + | | Mixed Crystals | ||
| + | ||[[file:longshards.png |200px]] | ||
| + | | Udder Stone | ||
| + | ||[[file:boxedbase.png |200px]] | ||
| + | | Boxes Base | ||
| + | ||[[file:honeycombpattern.png |200px]] | ||
| + | | Honeycomb Pattern | ||
| + | ||[[file:redstone.png |200px]] | ||
| + | | Red Stone | ||
| + | | | ||
| + | |- | ||
| + | |[[file:longshards.png |200px]] | ||
| + | | Long Shard | ||
| + | |[[file:bowlstone.png |200px]] | ||
| + | | Bowl Stone | ||
| + | |[[file:fracturedbase.png |200px]] | ||
| + | | Fractured Base | ||
| + | ||[[file:Wigglylines.png |200px]] | ||
| + | | Wigley Lines | ||
| + | |[[file:yellowstone.png |200px]] | ||
| + | |Yellow Stone | ||
| + | |- | ||
| + | |[[File:longbranched.png|200px]] | ||
| + | | Long Branched | ||
| + | |[[file:Ovalstone.png |200px]] | ||
| + | | Oval Stone | ||
| + | ||[[file:Roundedgebase.png |200px]] | ||
| + | | Rounded Edged base | ||
| + | |[[file:Linedpattern.png |200px]] | ||
| + | | Lined Pattern | ||
| + | |[[file:blackstone.png |200px]] | ||
| + | | Blackstone | ||
| + | |- | ||
| + | |[[File:longsmooth.png|200px]] | ||
| + | |Long Smooth | ||
| + | |[[file:stackedstone.png |200px]] | ||
| + | | Stacked Stone | ||
| + | ||[[file:bowlstone.png |200px]] | ||
| + | | Round stone base | ||
| + | |[[file:volcanicpattern.png |200px]] | ||
| + | | Volcanic Pattern | ||
| + | |[[file:bluestone.png |200px]] | ||
| + | | Blue Stone | ||
| + | |- | ||
| + | |[[File:rawcrystal.png|200px]] | ||
| + | | Raw Crystal | ||
| + | ||[[File:facetedcrystal.png|200px]] | ||
| + | | Round Stone | ||
| + | ||[[file:angledstone.png |200px]] | ||
| + | | flat base | ||
| + | |[[file:splatteredpattern.png |200px]] | ||
| + | | Splattered Pattern | ||
| + | |[[file:greenstone.png |200px]] | ||
| + | | Green Stone | ||
| + | |- | ||
| + | |[[File:shards.png|200px]] | ||
| + | |Shards | ||
| + | |[[File:angledstone.png|200px]] | ||
| + | | Angled Stone | ||
| + | |[[File:longbranched.png|200px]] | ||
| + | | Mounds Base | ||
| + | |[[file:longshards.png|200px]] | ||
| + | |Speckled Pattern | ||
| + | ||[[file:honeycombpattern.png |200px]] | ||
| + | | Cyan Stone | ||
| + | |- | ||
| + | |[[File:facetedcrystal.png|200px]] | ||
| + | |Faceted | ||
| + | |[[file:Squasedstone2.png|200px]] | ||
| + | |Squashed Stone | ||
| + | |[[File:rawcrystal.png|200px]] | ||
| + | | Flat Oval Base | ||
| + | | | ||
| + | | | ||
| + | ||[[file:magentastone.png |200px]] | ||
| + | | Magenta Stone | ||
| + | |- | ||
| + | |} | ||
[[Category:Guides]] | [[Category:Guides]] | ||
| Line 155: | Line 313: | ||
== [[Guides/Mining/Sand Mining|Sand Mining]] == | == [[Guides/Mining/Sand Mining|Sand Mining]] == | ||
| − | <font size="3">''Check out the [[Guides/Mining/ | + | <font size="3">''Check out the [[Guides/Mining/Sand Mining|Sand Mining Guide]] for pictures and charts that explain this process. Now in living color!''</font> |
Sand mines have 7 stones varying only in Body Colour. All 7 colours are possible, but unlikely to come out all at once. Having only one varying property makes sand mines much easier to mine for gems. The aim is to find groups of 3+ with all same or all different colours, and to work as many stones as possible seven times so that they crumble into gems (and coal). | Sand mines have 7 stones varying only in Body Colour. All 7 colours are possible, but unlikely to come out all at once. Having only one varying property makes sand mines much easier to mine for gems. The aim is to find groups of 3+ with all same or all different colours, and to work as many stones as possible seven times so that they crumble into gems (and coal). | ||
| Line 166: | Line 324: | ||
With a triple and a pair, you can get 3 gems by doing all possible workloads using stones from each of the triple and the pair (there are 12 of these), then a 4-workload. | With a triple and a pair, you can get 3 gems by doing all possible workloads using stones from each of the triple and the pair (there are 12 of these), then a 4-workload. | ||
| + | |||
| + | {{L|en}} | ||
Latest revision as of 15:31, 13 May 2021
To get to the Mining Technology Page click here: Mining
Tips
When done mining a public mine, please press "Stop working this mine" so the crystals disappear and won't cause lag.
Public Mines
See the Maps/Public Mines page.
General Description of Mining
- Anyone can see what type of Ore Mine it is. These mines do not crumble so there is no repair cost.
- When dowsing, 'Unrecognizable ore' means the required Perception is double your current rounded up. That's the current theory.
- Work the Mine, Normal hotkey [W] to get the first set or new set of ore stones. There is a Color Blind mining mode that can be enable by contacting a GM. The hotkey [c} to work the mine instead of [w] .
- Minimum number of Ore Stones in a successful Workload for any ore is 3 Ore Stones chosen.
- Gems and coal are produced when one of the Ore Stones crumbles. When a specific Ore Stone has been selected in a correct workload 7 times it crumbles.
- "All same or all different" means that each set needs to be either of the same or of a different type. E.g., the crystal color could be all red or 3 different colors.
- "Some same and some different" means that each set must contain a pair and one different from the pair. E.g., the crystal colors could be 2 yellows and 1 red.
Color Blind Mode
- If you would like to have Color Blind mode turned on for mining, please place a GM call requesting it.
- The puzzle artwork will be the same, but instead of requiring you to distinguish between stone colors, base colors, and crystal colors, you will have to distinguish between different shapes and/or marbling patterns. Even the most complex mining puzzles can be successfully configured that way.
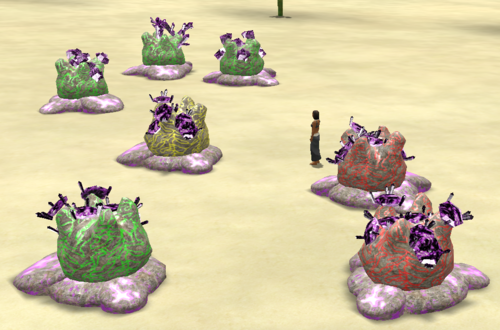
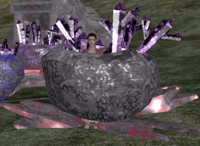
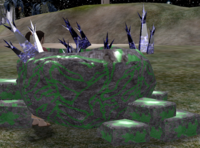
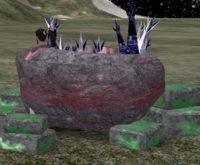
In this iron mine, you have to distinguish between stone colors and crystal shapes.
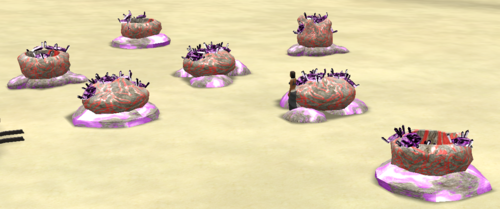
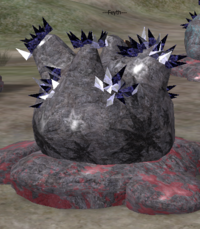
At the same iron mine, in colorblind mode, you need to distinguish between stone shapes and base shapes.
Byproducts
- Every mine will produce Gems and Coal when a stone is successfully broken. These land in the mine's inventory. The type of gem is determined by the region the mine is in. Refer to Gems for a list of which gems are mined in which regions.
- As of 2020-01-28, there is also a small chance to gain 2 Cuttable Gems among Almandine, Aquamarine, Garnet, Kunzite and Morganite when you confirm a successful workload, be it sand or ore. Contrary to gems and coal, the cuttables will land directly in your inventory.
Ore characteristics
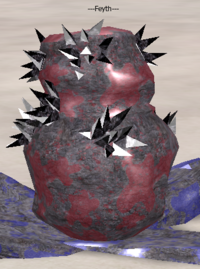
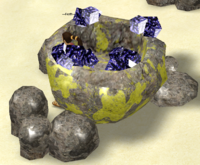
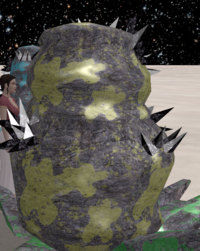
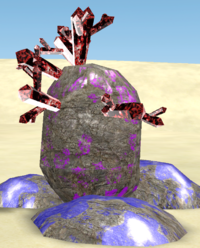
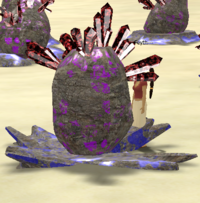
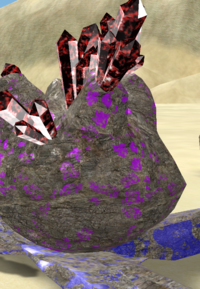
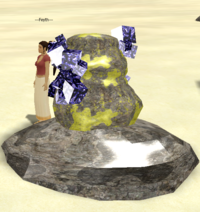
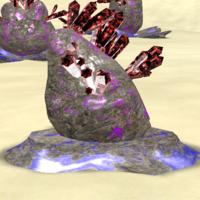
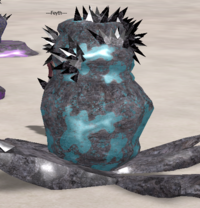
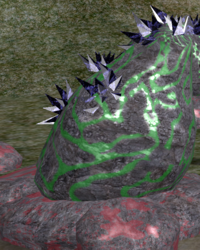
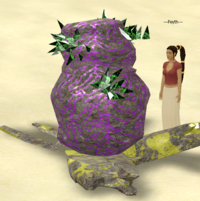
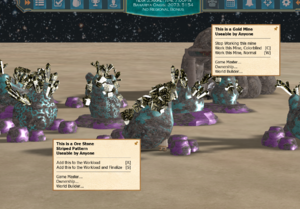
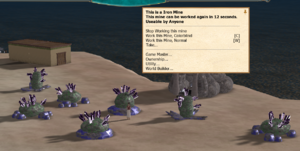
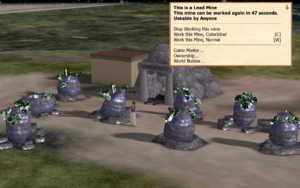
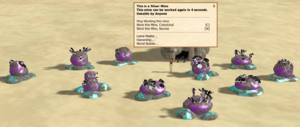
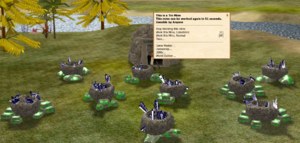
| Ore Type | Number of Ore Stones in a set | Varying Characteristics | Characteristic Rules for a Successful Workload | Regular Mining | Color Blind Mode | |
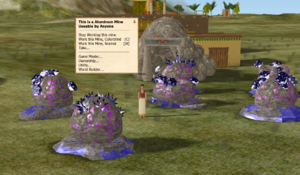
| Aluminum | 9 | 4 Stone Colours, 4 Stone Shapes, 4 Base Colours | All Same or All Different | 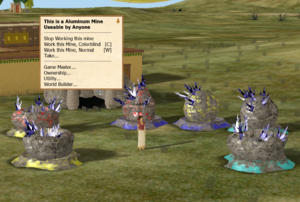
|
|
|
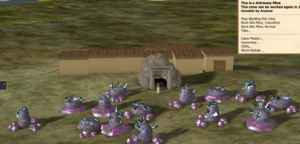
| Antimony | 14 | 5 Crystal Colours, 5 Crystal Shapes, 2 Base Shapes | All Same or All Different | 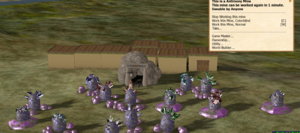
|
|
|
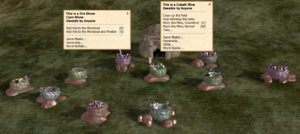
| Cobalt | 10 | 7 Stone Colours, 7 Crystal Colours, 7 Base Colours | 2 same base and one different, 2 same crystal and one different, 2 same stone and one different | 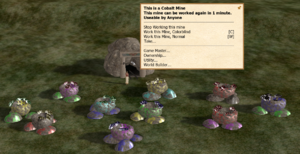
|
|
|
| Copper | 8 | 3 Stone Colours, 4 Stone Shapes | All Same or All Different | 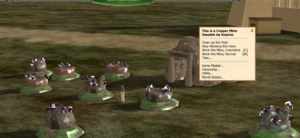
|
|
|
| Gold | 12 | 3 Stone Colours, 3 Stone Patterns, 3 Crystal Colours, 3 Crystal Shapes | All Same or All Different | 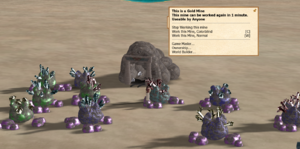
|
| |
| Iron | 7 | 3 Stone Colours, 3 Crystal Shapes | All Same or All Different | 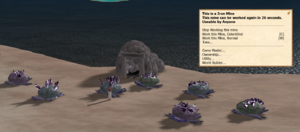
|
|
|
| Lead | 9 | 5 Stone Colours, 4 Stone Shapes, 3 Crystal Colors | All Same or All Different: Same shape + same gem colour + different rock colour = work. different rock colour + different gem colour + different shape = work | 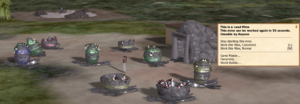
|
|
|
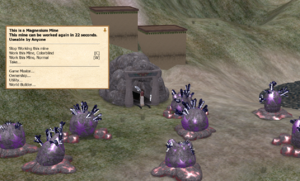
| Magnesium | 9 | 7 Stone Colours, 3 Stone Shapes, 3 Stone Patterns | All Same or All Different | 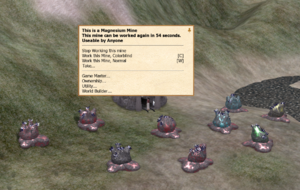
|
|
|
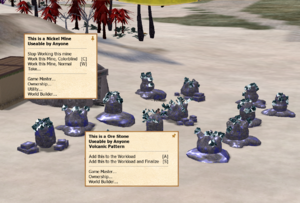
| Nickel | 13 | 4 Stone Colours, 4 Stone Patterns, 4 Crystal Shapes, 4 Crystal Colours (provisional) | 3+ All Same or All Different | 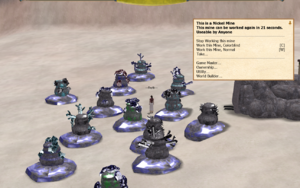
|
|
|
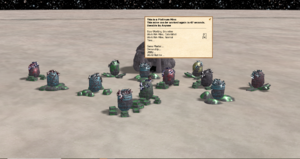
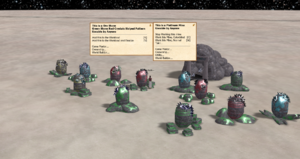
| Platinum | 12 | 5 Stone Colours, 5 Stone Patterns, 5 Crystal Colours, 5 Base Shapes | Some Same and Some Different: If mining 3 orestones, 2 must have same stone color and 3rd be different; 2 must have same base shape and 3rd be different, etc. |
|
|
|
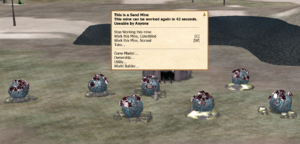
| Sand | 7 | 7 Stone Colors | All Same or All Different | 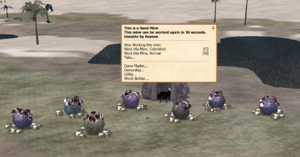
|
|
|
| Silver | 10 | 5 Stone Colours, 5 Base Shapes, 5 Base Colours | 3+ All Same or All Different | 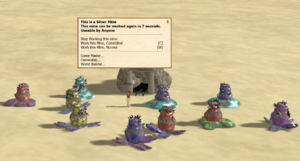
|
|
|
| Tin | 9 | 4 Stone Colours, 4 Stone Marbling Patterns | All Same or All Different | 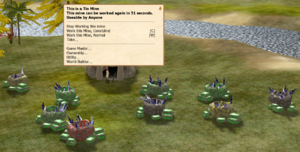
|
|
|
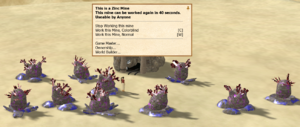
| Zinc | 10 | 3 Stone Colours, 3 Base Shapes, 3 Crystal Colours | All Same or All Different | 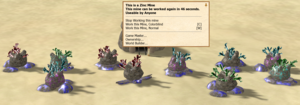
|
|
Playing the Mining Game
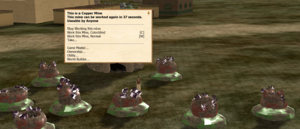
- We will use a Copper Mine in this example. Copper Mines use the Ore Stone characteristics of body colours and body shapes. You will always play the Mining Game with this type of mine with those characteristics. In the chart above, successful workloads will have characteristics that are either all the same or all different for copper.
- Click on the Mine and choose Work this Mine, Normal [W] to bring out a new Ore Stone set.
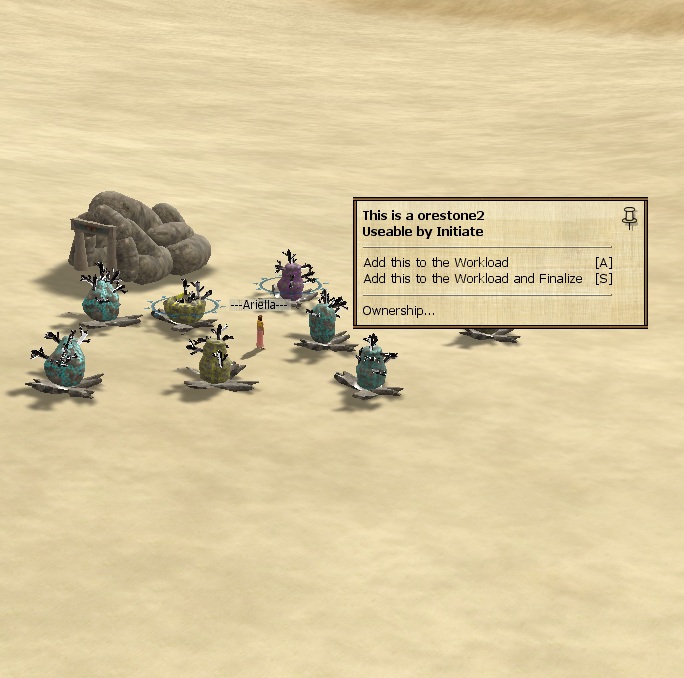
- Left-click the stones that you think will be either All Same or All Different as in the chart above for this Ore Stone Set and choose Add this to the Workload [A]. In this example I chose All Different for both colour and shape, so all stone shapes must be different and all stone colors must be different (yellow, purple, blue). A blue rotating ring appears around each stone you choose. Two Ore Stones have been chosen and a blue Ore Stone is about to be chosen.
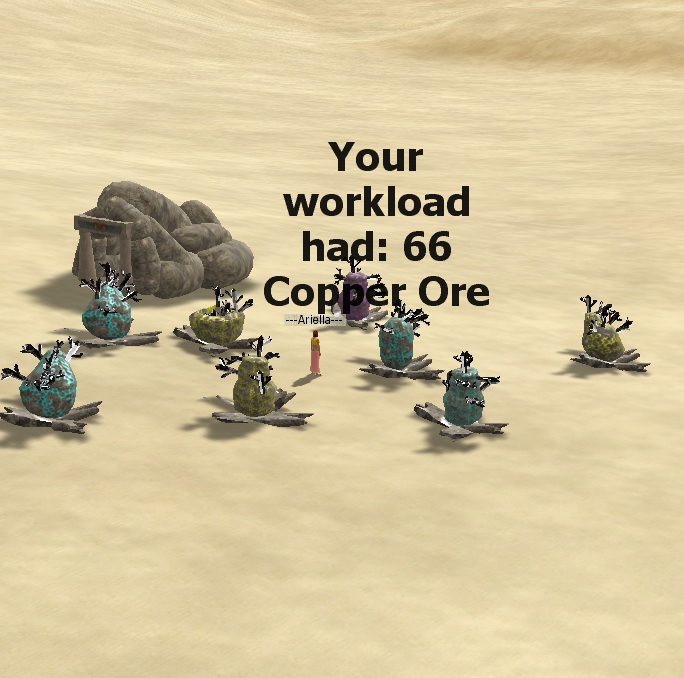
- Left-click the last Ore Stone and choose Add this to the Workload and Finalize [S]. If you chose a correct set of Ore Stones then you will see the flyaway message as below! You win some ore! The ore amount is added into the pot and you can Take.
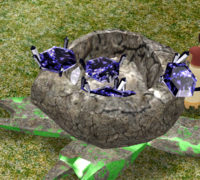
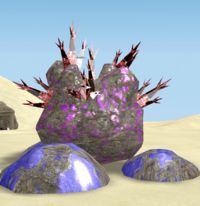
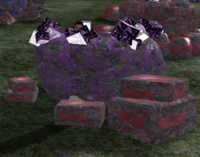
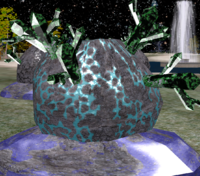
Ore Stone, Crystal and base shapes
A Small Guide to Efficient Copper Mining
The basics of efficient copper mining is to generally ignore the small loads from the 3-stone combinations and to go for the much more rewarding 4-stone combinations.
- If the current set of stones does not contain any 4-stone combinations, do a few 3-stone combinations to get timer to 0, then get a new set of stones.
- Soften up the stones in the 4-stone combination(s) by doing 3-stone combinations first. This will ensure a bigger return from the 4-stone combination(s). Be careful not to break any of the stones you need in the end.
- Now do the 4-stone combinations. You will notice that even though it takes some time building up to this, the reward is also great. Happy mining!
Mining Helper Tool
There is a helper tool available for mining many kinds of ores. It's written in Python 3 and available here.
Sand Mining
Check out the Sand Mining Guide for pictures and charts that explain this process. Now in living color!
Sand mines have 7 stones varying only in Body Colour. All 7 colours are possible, but unlikely to come out all at once. Having only one varying property makes sand mines much easier to mine for gems. The aim is to find groups of 3+ with all same or all different colours, and to work as many stones as possible seven times so that they crumble into gems (and coal).
If there are no triples having the same colour, it is possible to collapse all seven stones according to a simple rule: Make a workload of three stones using one from each pair (including other stones if there are fewer than 3 pairs), then make a workload of the four other stones. Repeat this seven times, and all stones will crumble yielding seven gems.
With just a triple (and four singles), you can get 5 gems by making all possible workloads of 3 stones using one from the triple, and then a workload of 5 stones.
You can take out 6 of the ore stones with this combination, Using one of the triple and the 4 singles will give you 6 sets. Do this with a 2nd of the triples, then with the 3rd of the triple you will have 2 sets and take out the 4 single stones then complete with doing the triple and that will take out two of the triple leaving you with just the one stone left. (Fez)
With a triple and a pair, you can get 3 gems by doing all possible workloads using stones from each of the triple and the pair (there are 12 of these), then a 4-workload.
